Hello Everyone and Happy New Year! Today is first Monday which brings a new Designer Crafts Connection Bloghop. This month's theme is Favorite New Product of 2014... and mine is truly AMAZING! A few months ago the new Amazing Remelt hit the shelves of Hobby Lobby Stores and I am in love with this fun and easy twist on moldmaking.
Amazing Remelt is a one-part, heat and pour mold making material that can be remelted and poured to create new molds. Molds can then be used with casting resins, clays, soap, wax, and it's even approved for food contact. It is now available in Hobby Lobby Stores and also on the Amazing Crafting Products website.
If you are having trouble viewing... please CLICK HERE to view.
Amazing Remelt is a Non Toxic, 1-part reusable mold making material for room temperature or low exotherm materials. Amazing Remelt softens at 120°F and becomes liquid at 135°-140°F – melted in the microwave or by traditional double-boiler method. It can be re-melted and re-used to make new molds time and time again. Amazing Remelt is ideal for making molds of smaller items such as jewelry, embellishments, and chocolate molds. Once you create your Amazing Remelt mold you can cast using Amazing Casting Resin, Amazing Clear Cast Resin, polymer clay, fondant and other food items such as butter, ice, chocolate... and more!
New to mold making and casting???
This unique product can be remelted and reused, making it not only economical, but eco-friendly. If you aren't happy with the results, you can melt down and re-pour around your object. Amazing Remelt gives you amazing detail and is great for push molds, texture plates and prototyping too!
This project starts off with my mini Amazing Mold Rubber slab and an embossed metal ATC that I created for a swap many moons ago. I love creating ATCs {artist trading cards} and find creating mini one-of-a-kind masterpieces for trade very rewarding - BUT - these hand embossed metal cards are a lot of work and were a very small batch... only six originals made. I decided I wanted to make a mold of this and it has opened up a world of possibilities for this little piece of art!
Using 3M spray adhesive, I sprayed my mini Amazing Mold Rubber slab, and allowed it to dry a few minutes to tack up. CLICK HERE to view how I created this to use for monoprinting.
Then I gently adhered my embossed metal ATC.
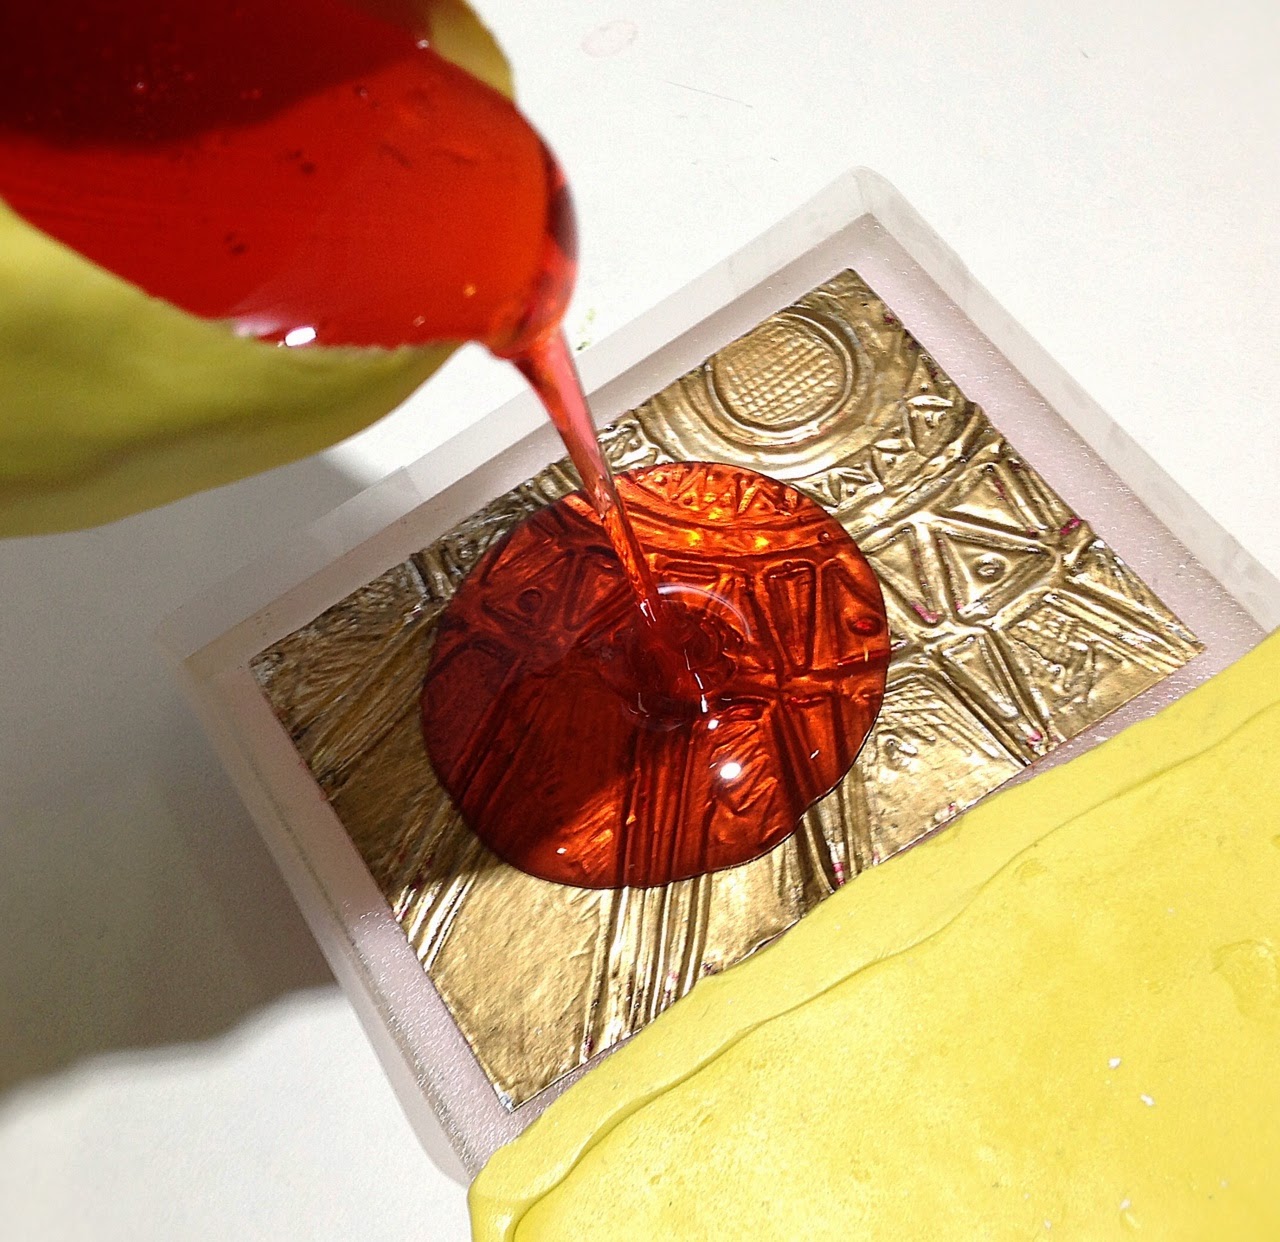
After mounting, I brushed spray cooking oil onto my metal ATC. This ensures the oil {serving as a mold release from the Amazing Remelt} was applied into all the nooks and crannies, and also doesn't leave any large beads of oil to displace the molding material. I also lightly brushed over the edges where the spray adhesive is exposed on the rubber slab.
I placed my mold rubber slab back onto the acrylic block I created it on and wrapped scotch tape around the sides to make my mold box walls to pour the Amazing Remelt into.
I melted 3-4 one inch cut squares of Amazing Remelt and melted slowly in my microwave in my mold putty cup I created for my cookie espresso cup project {CLICK HERE to view}. Keep in mind each microwave model varies, so you'll want to start out slow and test your melt times - mine happens to be super hot. I melt at 10 second increments on the lowest setting and after 3 cycles, I'm ready to pour. I set my makeshift moldbox up against a large mold putty mold in case the tape bowed out a lot. I usually wrap a strip of cardstock around the outside as extra support.
I popped and pulled away bubbles affecting image surface using a pin {or toothpick}.
I let the Amazing Remelt set to cool and harden for the day as I set off to work. Should only take an hour or so as this is only about 1/4" thick.
Now for the REVEAL!!! I love the amazing detail the Amazing Remelt has captured. This will certainly save me time and money in mold rubber {and space, too} for molding items quick and that I can create a new mold whenever I need... and I can STAMP with it!!!
+ + + + + + + + + + + +
Thanks so much for visiting! Continue on the Designer Crafts Connection "Favorite New Products of 2014" Bloghop by selecting hop back/forward on the logo below to enjoy all of the wonderful inspiration. Sb :)