Translate

**If you have previously subscribed to received my posts via feedburner or Bloglovin, those are inactive now. To receive my creative updates, please subscribe in the right sidebar.**
Showing posts with label Rubber Dance Art Stamps. Show all posts

Saturday, September 2, 2017

Summer #Cre8time Memories...


Hello friends! As summer comes to a close, one can't help but want to remember days adventuring at the beach. I love to create mini-books that house my photos and mementos from vacations... and I don't have to look far for finding something to create with – but for this keepsake... I've raided my pantry and refrigerator!


A set of vintage by the sea stamps by Rubber Dance Art Stamps are inspiration for the theme of my project which will be housed in a recycled cheese box that was in the refrigerator. I also raided my pantry for some paper boxes to serve as a sturdy base for pages.


I began by gently peeling off the package labeling to give me a blank slate to work with.


I measured a circle to fit inside the box and cut a template to trace out front and back pages from the recycled cookies/cracker boxes and from the corrugated packaging.


Then I distressed the outside of the box and both sides of the pages with an acrylic/gesso mix and also some spray mists – this gives a real white-washed beachy feel.


I also distressed some sheer organza ribbon and white cheesecloth with distress stains and spray mists... using them to mop up all the glittery goodness from the sprayed pages along the way.


I adhered some double-sided sheet adhesive cut to fit the pages and began to assemble my mini book. I sandwiched the ribbon and cheesecloth between the pages – adding some double-sided tape to the top of the ribbon to lock them in place when I adhere the top page.


Between the pages, I added some knotted natural green dyed raffia.


I even used a recycled envelope for ephemera... nothing goes to waste! I distressed in the same fashion as the pages and adhered using circle cut double-stick adhesive sheets. I'm normally a glue-stick girl, but after all the painting and distressing, the double-sided adhesive makes assembly quick and easy.


I stamped my images using brown dye ink onto creme cardstock primed with the same acrylic/gesso base as everything else; then tearing each image out and distressing edges with chalk inks to complete the vintage weathered feel.


I layered onto the corrogated pages a section of distressed cheesecloth and one image adhered with tacky glue.


I added some antique gold dewdrop ink to the inside of the box and layered one of the images to the base, and blending the hard edge of the envelope and white box with the corrugated border around the sides... WOW this is so lovely!


Now for some finishing touches! A resin cast sand dollar colored with spray mists and antique gold ink; a recycled dry cleaning tag; section of cheesecloth; raffia stands; and some real mini seashells to complete the scene.


I accordion fold the book into a stack and nestle it nicely into the box. It's all grungy and weathered and looks like it's just washed ashore!

Memories by the Sea...


This cheese box has been transformed completely – one would never guess what it was when I began. Keep a lookout in your pantry, the fridge and your recycling for amazing and interesting things to upcycle into something beautiful and useful! I even have space leftover to add some of my vacation photos from Jamaica last fall.

I hope you have enjoyed my recycled stamped creation – I truly enjoyed making this keepsake. What would you recycle for use as a summertime keepsake?

Thanks for visiting! :) Sb

Monday, September 7, 2015

Raiding the #Cre8time Fridge to Preserve Memories...


Welcome! It's the first Monday of September and it's time for a new Designer Crafts Connection Bloghop. This month's theme is "Preserving Memories"... a scrapbooking blohop... with a bonus challenge of utilizing items found around the house. I love making mini albums with all sorts of fun recycled items such as flip flops, paper bags, empty ribbon/tape spools and with today's project... food packaging!


I don't have to look far for finding something to create with – there is usually plenty of interesting things to use for crafting in my recycling bin... or in my pantry and refrigerator! Do recognize this empty box? This is the packaging that comes full of tasty wedgies of Laughing Cow cheese. I never let these babies hit the recycling bin. They are a perfect for housing a mini album -or- decorated up to present a gift card. I gently peel off the package labeling from the box to give me a blank slate to work with. 


I've also recycled a chipboard box from cookies and also a corrugated shipping envelope that I've cut into circles to make pages for my mini album.


I gave a distressed, white-washed beachy feel to the outside of the box and both sides of the pages with an acrylic/gesso mix and also some spray mists.


I also need some matching ribbons/fibers! I distressed some sheer organza ribbon and white cheesecloth with distress stains and spray mists.


Now to assemble my mini book - this will be accordion style. Using double-sided sheet adhesive cut to fit the pages, I sandwiched the ribbon and cheesecloth between the pages – adding some double-sided tape to the top of the ribbon to lock them in place when I adhere the top page.
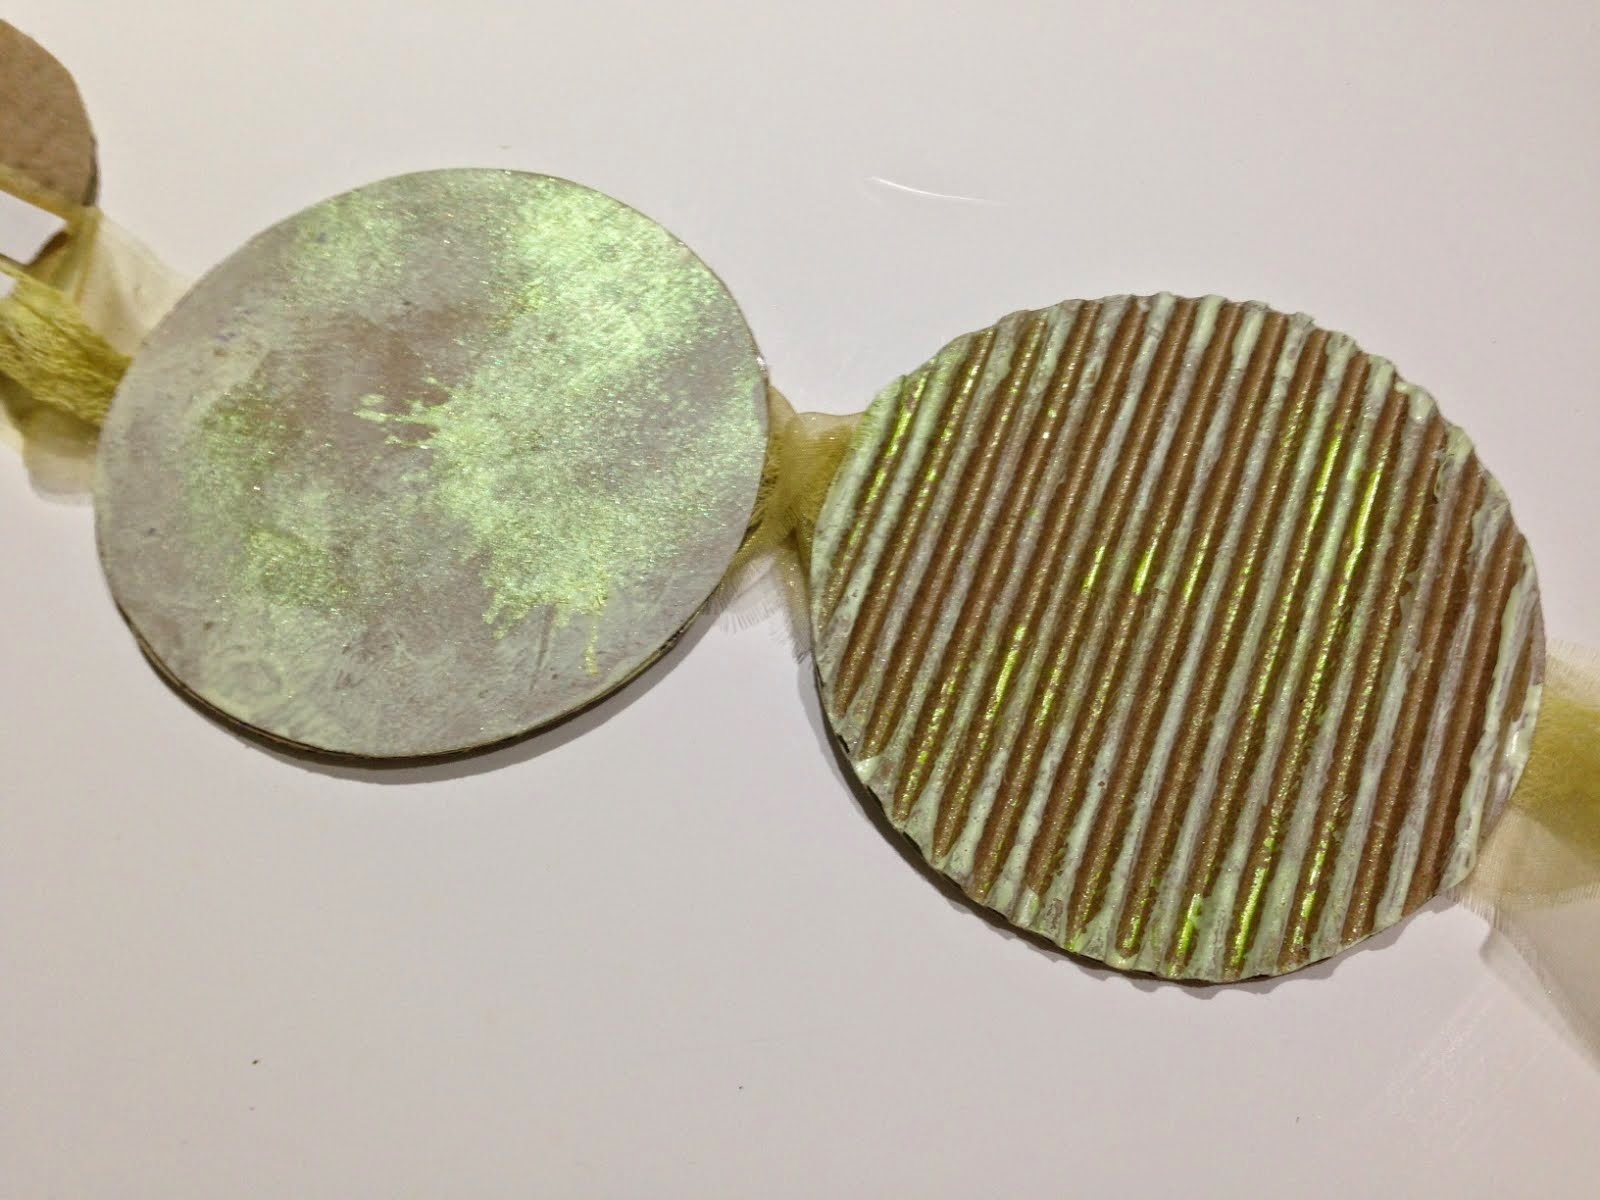

Between the pages, I added some knotted natural green dyed raffia.


Nothing goes to waste with me - I used a recycled envelope to decorate the base of my box. I distressed/painted in the same fashion as the pages and adhered using double-stick adhesive sheets. I'm normally a glue-stick girl, but after all the painting and distressing, the double-sided adhesive makes assembly quick and easy.


I included some vintage beach stamp images using brown dye ink onto creme cardstock primed with the same acrylic/gesso base as everything else. I tore each image out and distressed edges with chalk inks to complete the vintage weathered feel.


I layered onto the corrogated pages a section of distressed cheesecloth and one image adhered with tacky glue. The backside of each page gives me space to add some of my vacation photos from Jamaica last fall.


I added some antique gold dewdrop ink to the inside of the box and layered a stamp collage image to the base. The gold ink worked nicely blending the hard edge of the envelope and white box with the corrugated border around the sides... WOW this is so lovely!


Now for some finishing touches: a resin cast sand dollar colored with spray mists and antique gold ink; a recycled dry cleaning tag; section of cheesecloth; raffia stands; and some real mini seashells to complete the scene.


The accordion style book nicely folds into a stack to nestle into the box... i's all grungy and weathered, and looks like it's just washed ashore!

From Cheesy to Beachy Chic...


This cheese box has been transformed completely – one would never guess what it was when I began. Keep a lookout in your pantry, the fridge and your recycling bin for amazing and interesting things to upcycle into something beautiful and useful for memory keeping! 

Thanks for visiting. Continue on the Designer Crafts Connection "PRESERVING MEMORIES" Bloghop by selecting hop back/forward on the logo below.

Thursday, March 5, 2015

Tasty Snacks Leave Creative Treasures...


It's no secret that greencrafting is one of my favorite pastimes. Especially when tasty snacks come in such fun packaging just screaming for some Cre8time love.


Join me today for another installment of my "Thoughtful Abstractions" column at Unruly PaperArts. The theme for March is TRASH 2 TREASURE... focusing on recycling, reusing and upcycling. I don't have to look far for finding something to create with – there is usually plenty of interesting things to use for crafting in my recycling bin... or in today's case... compliments of "The Laughing Cow" in  my refrigerator!

CLICK HERE to jump over to Unruly Paper Arts to see the full transformation. :) Sb

Saturday, February 14, 2015

A #Cre8time Valentine for that Long Lost SUMMER Flame...


Hello Everyone... Happy Valentine's Day!! It's the middle of Feburary {already} and time for another blast of inspiration for the current Reader's Art Quest at Unruly Paper Arts. This month's challenge theme is "Heartfelt" which is perfect way to spend a little #Cre8time creating in the colors of LOVE! Reds, pinks, white and pops of orange are sure to turn up the heat and bring some sizzle to the middle of winter.


The Unruly Paper Arts Reader's Art Quest "Heartfelt" Inspiration photo and color palette, are perfect for creating a special Valentine for that long lost summer flame.


This card came together pretty easy with some scraps and leftovers from other projects. I have a bin on my craft table that is a collection of leftovers, die-cuts, stickers, embellishments and other misc fodder for crafting... a fun place to shop for items to assemble a mixed-media card and put some of these items to use!


The background is a torn scrap of pink painted cardstock cut to fit to a tan speckletone card base. Add photo corners and some sparkly floral mesh and I have a nice start. I stamped the "retro beach dude" from Rubber Dance Art Stamps - for my summer beau in brown dye ink. Layered on top is an assortment of Sizzix leaf sprigs, a red heart doily creatively trimmed, embossed chipboard shapes from M store dollar bin, a scrap of three hearts cut from a patterned paper with doily paper behind, and two word stickers matted with red cardstock - all kissed with a little chalk inks for distressing. 


I hope you enjoyed my project and that you are inspired to join us in this month's Reader's Art Quest and check out the sponsor this month Rubber Dance Art Stamps. I would love to see what you create. Please leave me a comment with your link.

Happy Valentine's Day! I'm planning on spending the day with my main squeeze going on a date to the annual Coconut Grove Art Festival down in Miami... gotta love a crafty road trip with good art, good food and my one true love! :) Sb
