Translate

**If you have previously subscribed to received my posts via feedburner or Bloglovin, those are inactive now. To receive my creative updates, please subscribe in the right sidebar.**
Showing posts with label tropical. Show all posts

Wednesday, July 22, 2020

It's Five o'Clock Somewhere with Makers Movement® and Designer Crafts Connection!


Greetings everyone! Have you been spending your days binge-watching Christmas movies for Christmas in July?! I have because this summer is hotter than I can remember. Today the Designer Crafts Connection is shaking things up and creating using a variety of products from Makers Movement®CLICK HERE to hop on over to learn more about these fabulous products!


Makers Movement® is an Arts & Crafts store and also manufactures and supplies high quality craft cutting dies, die cutting machines, craft supplies, and more!


I was so excited to receive this assortment of supplies from Maker's Movement® to create with: Happy Day Stamp and Die Set; Mixed Drinks Shaker Sprinkles; Clear Acetate Sheets; and Double-sided Adhesive Craft Foam... everything I need to make dimensional Margaritas with shakers!


Check out how CUTE the shaker goodies to accent paper cocktails! My paper scrap stash will be forever transformed!


Before I begin, I need to gently snip the die pieces apart at the tabs with a pair of wire cutters. I also go back and trim away tab edges after separating. Now the fun begins!


Using some washi tape, I secure the citrus wedge shapes to my cardstock and run through the diecutter and voila... a pair of eyes!


I cut out the two citrus wedge shapes out of a scrap of yellow glitter cardstock and place into the voids from the previous cuts. I mount a scrap of matching green cardstock to the backside to secure the eyes with glue.


With a few hand-drawn marker outlines, and the addition of pupils and some lashes... it's starting to feel a little Grinchy here!


Now I need a cocktail glass to create a Margarita for my Ms. Grinch. I cut five glass shapes out of lime green cardstock and one for the top layer out of lime green glitter cardstock. 

I also cut out the solid "drink" portion out of yellow glitter cardstock and a piece of acetate. I also cut out a few of the citrus wedges in the yellow and green glitter cardstock for accents.


If you are unable to cut dimensional foam tape sheets to fit a thin, delicate shape diecut - -- no worries. Building a shaker with only flat cardstock is really easy. I take the 5 solid cardstock cut glasses and added a line of glue all around and layered the next die cut on top. Gently press to secure, then repeat with each shape which builds up the thickness. 

Create a void for shaker sprinkles by glueing yellow glitter "drink" shape to back of layered stack. If using a wet glue, make sure glue has dried completely before adding shaker goodies so they don't get glued to the edges.


I mount the glass onto my card before closing up shaker and adhering acetate layer, followed by the finishing touch -- the lime green glitter cardstock die cut. I accented the glass with a glittery citrus wedge!


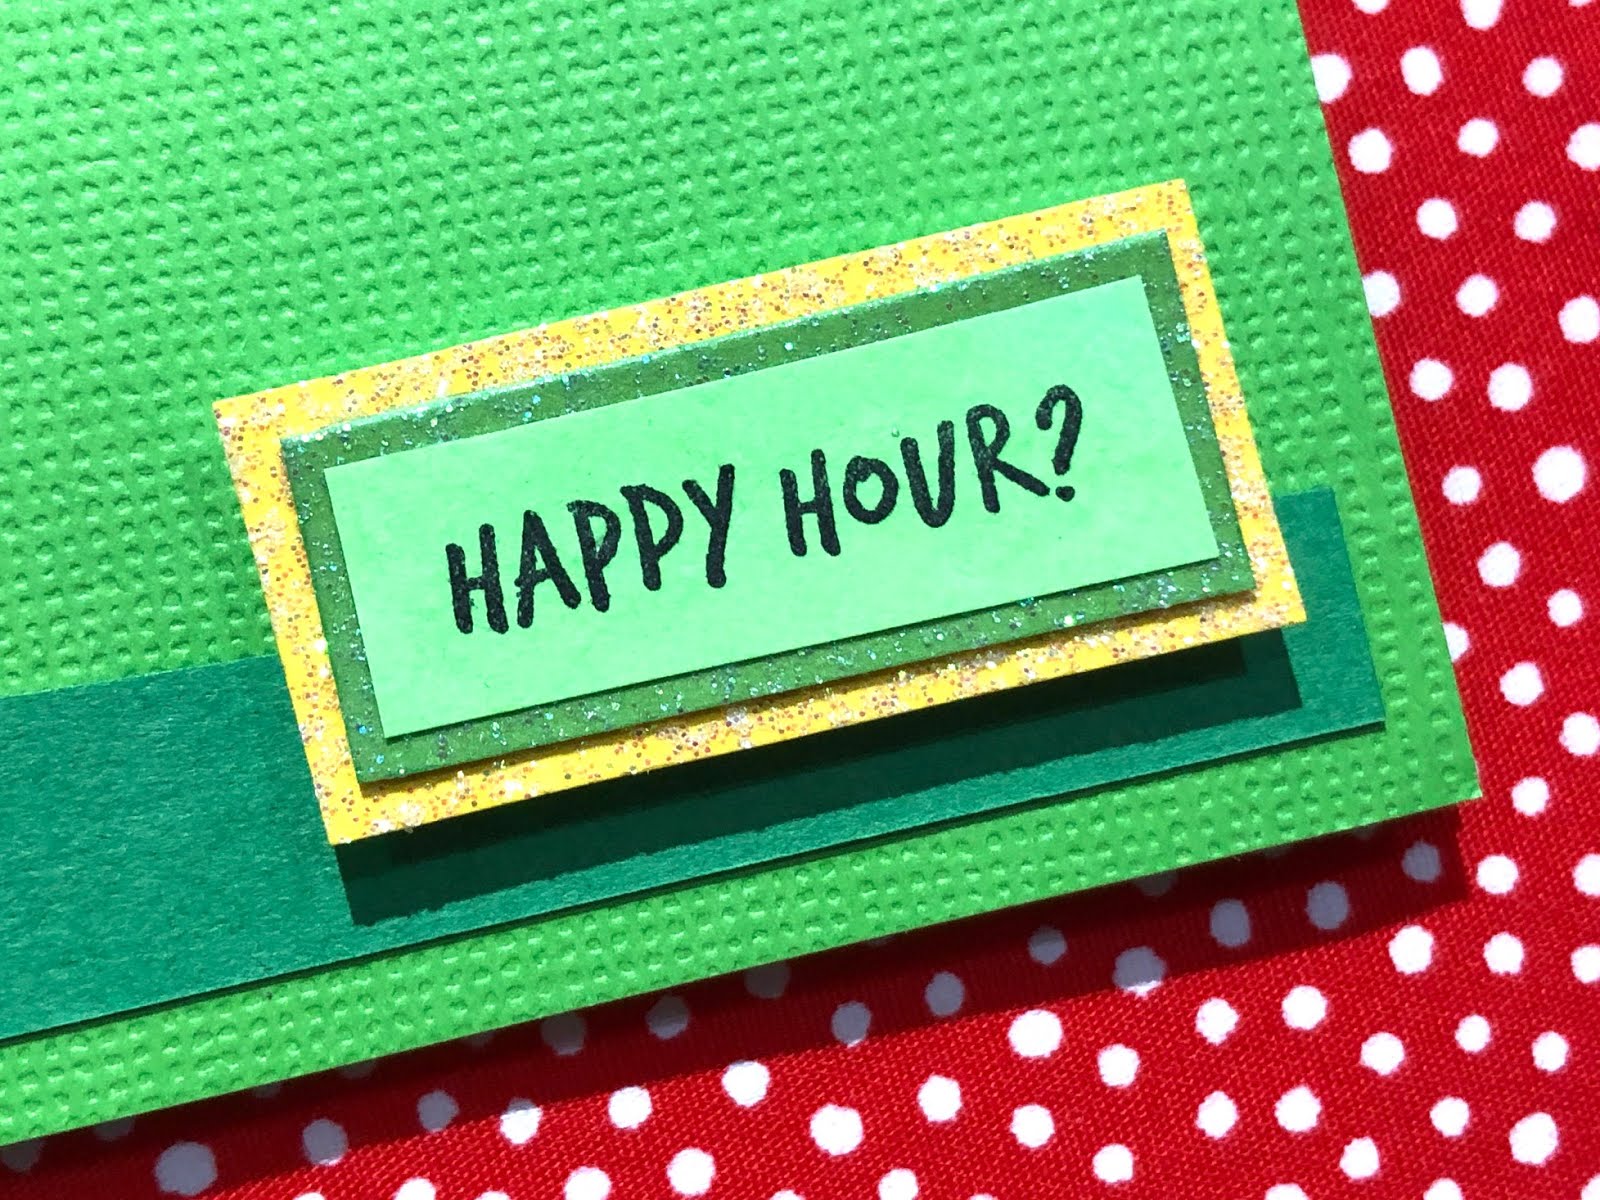
This "Happy Day" set is so fun and versatile as it has a coordinating stamp set with sentiments for any occasion. Ms. Grinchmas plans to invite Cindy Lou Who to "Happy Hour" because there is much to celebrate. Sentiments stamped using Jet Black Ranger Dye Ink.


After trimming out the stamped sentiments, I double matte them with the same glittered cardstock used for the diecut shapes. 


I mount the sentiment to the front of the card using the double-sided adhesive craft foam and my card is complete!


Margarita's Salt-rimmed or Sugared?!


What summer fun will you create
with Makers Movement®?

CLICK HERE to jump over to the beginning of the Makers Movement® Bloghop at the Designer Crafts Connection blog to view more Summer inspiration and projects using Maker Movement® products. If you see something you like... don't have FOMO... enjoy a Buy 2 Get One Free sale on entire website through end of July!

You can find more info on
Maker's Movement® Website HERE

Find lots of creative Maker's Movement® inspiration HERE.


Merry Grinchmas!! Thanks so much for visiting!  Sb :)

** This is a sponsored post. Makers Movement® has provided products for use in this project in exchange for my creative ideas, views and opinions. My ideas and opinions are my own.

Monday, April 27, 2020

Fun in the Sun with Tropical Faux Batik – Rainy Day StencilGirl® Collaboration/Challenge

Disclosure: This post contains amazon affiliate links for supplies I am referencing in this post. This means that–at no extra cost to you, I can make a commission on a purchase you make if you use my link.

Hello friends! What is the old phrase "April showers bring May Flowers"... well Spring has sprung, right?! Here in South Florida there's been no rain for weeks and weeks and it seems we have skipped from March to AUGUST.


Today I am participating in a special collaborative project hosted by Tina Walker where she challenged a group of creatives to art up umbrellas using StencilGirl® Stencils.


I'm inspired to make something Impressionistic
with a beachy, tropical feel.


For my umbrella I have used the StencilGirl® Products


I start out I spraying the umbrella with a base coat of Green Apple Ultra Painter's Touch® Ultra Cover Rust-oleum®. This paint acts as a paint and primer in one.


With the base layer completed, I sprayed through the Mimosa stencil building up an impression of a continuous pattern -- alternating between Rust-oleum® Gloss Rich Jade Green and Satin Ink Blue Painter's Touch® Ultra Cover Rust-oleum®.


I kept going around and around alternating colors and building up layers. When completed I have 6 layers of stenciled colors woven in and around the umbrella surface.


The layers have a beautiful impressionist feel,
similar to a tropical batik fabric.


I have to say my even stencil looks quite lovely!


The paint did not sink through the fabric -- and the design texture is visible as the light shines through.

"Tropical Faux Batik"


One would never know that I didn't purchase the umbrella this way, except for the small spritz of green on the under side when a gust of wind picked up my umbrella and tossed it over mid-spray.


The resulting design has a painterly feel and is quite impressive!


CLICK HERE to jump over to see more of the beautiful creations made for the Rainy Day StencilGirl® Collaboration.


Thanks for dropping by! What household object would you stencil up on a rain day?! xo Sb

Products used:
StencilGirl® Products - Mimosa 6 Stencil S126
Totes Umbrella - Amazon
Rust-Oleum® Painter's Touch Satin Green Apple - Amazon
Rust-Oleum® Painter's Touch Satin Ink Blue - Amazon
Rust-Oleum® Gloss Rich Jade - Amazon


Disclosure: This post contains amazon affiliate links for supplies I am referencing in this post. This means that–at no extra cost to you, I can make a commission on a purchase you make if you use my links.

Thursday, January 11, 2018

#Cre8time takes Flight...

Hello friends... Happy NEW YEAR! Today I resharing one of my favorite and most popular makes from last year.


As my health has made itself my main priority, this has left me with a fraction of the time I used to devote to creating with abandon. Now when my muse comes out to play when she is fully rested and rejuvenated... I have found myself creating things with wings and making some fun stuff to accent my studio.


I've had this papier-maché torso lying around for more years than I'd care to admit - I used to have three and I passed two on to friends. I have to admit I was a bit unsure of what to create with this last one since I've had it so long. The possibilities are endless... so I decided to create an altered torso.

I've painted her up with spray paints and StencilGirl stencils and gave her some handmade resin tropical flair and WINGS!


I created several molds using Amazing Mold Putty: an Art Deco style vintage mirror, a hand-carved polymer clay palm leaf, and some interesting shaped shells. 


The first thing I did is put a border of clear packing tape around the edges of each stencil, on the front and backside, and burnishing with a bone folder. I remember hearing this trick from another artist and thought it was worth a try -- works for me!


First I added some color to the wood accents on the torso. I used Carbon Gray Varathane Wood Stain - it's easy to apply and dries quick. I never heard of gray wood stain... I happen to love this color and the color it achieved. I have an unfinished wood cabinet that is soon to be tackled with this lovely colored stain.


When this is dry I use some plastic wrap to cover the wooden parts to protect area from spray painting with stencils! I used a coating of Mod Podge Matte finish to seal the papier maché torso in preparation to accept a good layering of spray paint.


I have a bright gloss green and a bright blue which I sprayed alternating in no particular pattern.


After I had a nice base layer, I continued adding color spraying through the stencils. The shapes are organic and look like shadows peeking through palm branches at night.


While the paint is drying, I get on with casting my accent pieces. I brush the inside of each mold with Ocean Blue Alumidust and also mix some into a batch of Amazing Casting Resin. This resin turns an opaque white when cured and with the Alumidust mixed in, it will result in a pretty pale blue.


I always make sure to have extra molds on hand to pour any leftover resin so it doesn't go to waste. This is all of the molds poured with resin cured. I needed two of the mirrors so all the small bits are extras for the rainy-day project bin.


Look at the AMAZING detail in the front and back of each shell cast in resin. The overpour {flashing} tears away pretty easy while resin is still soft and any remaining can easily be trimmed away. I sanded edges with an emory board.


I gave a little shine and brightness to the resin pieces by brushing the high points with Tonic Nuvo Embellishment Mousse. This color is a nice pearly pale blue... perfect for beachy themed projects! 


I finished off by adding a section of recycled jewels around the neck to dangle the resin palm leaf and a faceted gem. I crossed the mirror shapes and wrapped with wire to form wings and secured with wrapping wire around the torso. I brushed a little of the spray paint onto the wire to blend it in to the background pattern. I'm so happy with how this looks that I left off the other two shell pieces I prepared {they won't go to waste -- stay tuned}! I hope you love my tropical winged torso as much as I do. She make's a beautiful beachy addition to my creative workspace.


This lady is making a trip to Phoenix, AZ to be on display in the Alumilite Corp./Amazing Casting Products Booth #2214 during Creativation January 20-22, 2018. I'll be demoing all three days, so if you are attending -- drop by and say "HI"!


+++++++

Thanks for dropping by and I'd love to hear what you're favorite make from 2017 is... leave a comment with a link!   xo Sb