Translate

**If you have previously subscribed to received my posts via feedburner or Bloglovin, those are inactive now. To receive my creative updates, please subscribe in the right sidebar.**
Showing posts with label paper arts. Show all posts

Sunday, November 30, 2025

Festive Paper House Decor... 12 Days of Christmas Ornaments Bloghop


Hello creative friends! Welcome to DAY FOUR of the 12 Days of Christmas Ornaments Bloghop. Pop over to Try-It, Like It for the details on all each days ornament tutorial. 
 
 
Today I am sharing how to create this adorable festive birdhouse ornament. This is a fun stash-busting project and can be done using what you have on hand. All you need is a few paper scraps, buttons or metal findings and ribbons & trims, this sweet house is ready to adorn the tree!

I was inspired by the red & white checks on this 1 1/2" wide wired burlap trim - it's perfect for the rooftop of my whimsical little bird house.

PLEASE NOTE: This was put together in a free-form fashion... like one of those recipes that you throw together using a handful of pantry staples. This project came together with ease and the size was determined by the size of my paper scraps & width of ribbon trim that I selected for the roof. No precise measuring! 

Let's get started!

To begin: from my stash I found and cut two matching strips of patterned paper. My paper has a distressed painted texture on both sides and I made width match the wired burlap trim I am using for the roof which is approximately 1 1/2" wide


Overlap the two strips together like a "plus sign", then glue together with white craft glue. Next cut a matching triangular peak to support roof from top and bottom of one strip. This overlapped section will be the base of house. When glue is dry, fold up the sides at edges of the base section. Punch a series of equally spaced holes along each edge. I used six – this may vary depending on your size paper. Keep in mind that an even number of holes are needed to complete stitched X shapes along each side.

 
Using a contrasting yarn, embroidery floss or baker's/burlap twine, stitch house walls together using a cross stitch "X" pattern and and knot off on the inside.


Completed house with all sides stitched – no glue necessary. 


I cut a section of a decorative wired burlap trim, folded in half, then folded edges over twice to add extra dimension. Any kind of ribbon or even decorative paper could be used. Cut a matching size section of patterned cardstock and fold in half. 


For extra stability, adhere the piece of scrap patterned cardstock using double-sided tape. For this step, I opt for a dry adhesive method as some glues may seep into and discolor ribbon. Please use your choice of adhesive based on your materials.


Create a hanger by tying a knot to form a loop with green burlap thread. Poke a small hole in center of roof with a pushpin and feed through keeping knot on the inside. To add extra detail, I strung on a bead cap. 


To create a base, I mount a red cardstock rectangle on the bottom that is slightly larger and added a thin natural burlap twine around the base. I nipped the tips off the corner edges with scissors.

To add a roof overhang, I cut and adhere a piece of red cardstock below that is slightly wider on each size under burlap roof piece. To finish: I glue the roof assembly onto the house structure using white craft glue and set aside to dry.


The finishing touches are a keyhole brad embellishment glued to the front of the house and a beautiful tied bow made of burlap ribbon adhered with a heavy-duty glue-dot. This ornament is so adorable! As you can see it can fit in my hand. Fully embellished this house is about 3 1/2" tall and 2 1/2" wide.


This ornament comes together easily using a minimal amount of supplies. Grab up all the little bits and bobs and make a whole bunch in different colors and sizes! These will be my handmade ornament gifts for family this year.
 
I invite you to join me and subscribe to my YouTube channel where I will share a video process of this ornament in a different color and pattern range on December 8th! While you are there you can view a video on a mixed-media Junque Fairy ornament.

If you have any questions, please leave a comment and your contact information spelled out {ie: youremail at service dot com} and I will be happy to respond. 
 
Thank you for stopping by. Check back for more fun projects!  :) Sb

Trim the Tree with Handmade Holiday Ornaments...

Hello creative friends! Handmade holiday gifts are my jam – especially ornaments. It's a tradition that I share with my Grandmother which has spread to other family members too. I am also into all sorts of art & crafts, sewing and of course, I just can't resist making ALL THE THINGS! 

That being said, 
I am excited that my creative friend Janet invited me to be a part of a special handmade event where each day brings a new craft tutorial to follow along and make some new handmade holiday ornaments... the 12 Days of Christmas Ornaments!


+ + + + +

To visit all the stops for the 12 Days of Christmas Ornaments visit Janet at https://tryit-likeit.com/12-days-of-christmas-ornaments/

Here's the list of all the Ornament Makers in this bloghop:

Day 1 – Janet Trieschman: Fabric Ball Ornament
Day 2 – Donna Wirthlin: Santa Fabric Star
Day 3 – Natalie Shaw: Waterslide Decal Ornaments
** Day 4 – Susan M. Brown {sbartist}: Festive Paper House Ornament ** YOU ARE HERE
Day 5 – Michelle James: Old World Santa Ornaments
Day 6 – Julie Nyanyo: Felt and Button Stars
Day 7 – Christie Troxell: Pinecone Flowers Wood Slice
Day 8 – Gail Griffin: Bejeweled Decorative Ornament
Day 9 – Katie Adams: 3D Laser Cut Reindeer Ornament
Day 10 – Janet Trieschman: Alcohol ink Ornament
Day 11 – Terry Ricioli: Rustic Wood Slice Ornament
Day 12 – Janet Trieschman: Christmas Tree

Thanks for stopping by – I hope you enjoy creating along. Merry Christmas and Happy Making. I'd love to hear about what type of ornaments you like to make. :) Sb

Tuesday, February 15, 2022

The Countdown is ON! Join me at #CollageLabSpringFling


Hello friends! Who's ready for a vacation?! I am so excited that we are just 14 days away from Collage-Lab's SPRING FLING Virtual Retreat where will be teaching my first virtual workshop "Fabulous FAUX Leather". 

Join me on a Safari in making faux backgrounds! In my workshop, I will teach you three easy “Fabulous FAUX Leather” techniques that have really dramatic results using recycled packing paper, newsprint and a few craft supplies you have on hand… the results will amaze you! Get ready to have fun getting messy!


I invite YOU to join me for a month of COLLAGE-FUN at Collage-Lab's SPRING FLING Virtual Retreat! Grab some scissors, a glue stick and a pile of your paper scraps, magazine clippings & ephemera and join me!


The BEST part you can join from wherever you are...
EVERYONE is invited to join the fun!


Join myself and 14 artists from across the globe at
the Collage-Lab SPRING FLING Virtual Retreat!
It all begins March 1st, 2022. 


Get away from the hustle and bustle of everyday and focus on mixed-media collage for a bit. For the entire month of March 2022, Collage-Lab will bring you a variety of full-length recorded classes, Zoom gatherings, and a whole assortment of collage projects and techniques.

Treat yourself to a gift while supporting
your artist community... a WIN-WIN!

Limited spaces remain for only $100 – The Classroom and Private Retreat FB Group are now open to join the fun... there are even some surprise bonuses! SIGN UP TODAY to enjoy this unique Mixed Media Collage Retreat from the comfort of your own home or studio.

For all the details CLICK HERE.


Full Disclosure: the Collage-Lab SPRING FLING Virtual Retreat pays its instructors. By using my affiliate linkbit.ly/SpringFling_withSB to sign up, I will receive a small commission which goes towards continuing my efforts to bring creative inspiration to you for FREE here in webland. I am so grateful to all of you for supporting me and my creative adventures.

I hope to see you there! It will be so much fun!

Sending you all many {{ BIG Crafty HUGS }}
:) Sb

Monday, November 15, 2021

Great News!!! I'm TEACHING at the #collagelabspringfling


Keep calm and put the bacon on! Hello friends! The time is finally here and I am so excited and thrilled to tell you the NEWS!! I've kept this post brief, so please read to the end. This is my first EVER announcement of this kind and I am bringing it to YOU, my blog readers first. XOXOXO


It's a rare occurrence that someone catches me in a photo. This one surely speaks for itself! I have a new workshop that I am teaching... and I invite YOU. Grab some scissors, a glue stick and a pile of your paper scraps, magazine clippings & ephemera and join me!


While in-person engagements are still limited, the magic of technology has made it possible for me to teach online -- and I have been invited to teach at Collage-Lab's SPRING FLING Virtual Retreat!


The BEST part is EVERYONE is invited to join the fun!


Join myself and 14 artists from across the globe at
the Collage-Lab SPRING FLING Virtual Retreat!
It all begins March 1st, 2022. 


Get away from the hustle and bustle of everyday and focus on mixed media collage for a bit. For the entire month of March 2022, Collage-Lab will bring you a variety of online classes, Zoom gatherings, and a whole assortment of collage projects and techniques.

Treat yourself to a gift while supporting
your artist community... a WIN-WIN!

SIGN UP TODAY for the low Early Bird Price of $100 and unlock all of the adventures of this unique Mixed Media Collage Retreat from the comfort of your own home or studio.

For all the details CLICK HERE.


Full Disclosure: the Collage-Lab SPRING FLING Virtual Retreat pays its instructors. By using my affiliate linkbit.ly/SpringFling_withSB to sign up, I will receive a small commission which goes towards continuing my efforts to bring creative inspiration to you for FREE here in webland. I am so grateful to all of you for supporting me and my creative adventures.

I hope you will sign up and join me! It will be the best gift ever!

Sending you all many {{ BIG Crafty HUGS }}
:) Sb

Wednesday, July 22, 2020

It's Five o'Clock Somewhere with Makers Movement® and Designer Crafts Connection!


Greetings everyone! Have you been spending your days binge-watching Christmas movies for Christmas in July?! I have because this summer is hotter than I can remember. Today the Designer Crafts Connection is shaking things up and creating using a variety of products from Makers Movement®CLICK HERE to hop on over to learn more about these fabulous products!


Makers Movement® is an Arts & Crafts store and also manufactures and supplies high quality craft cutting dies, die cutting machines, craft supplies, and more!


I was so excited to receive this assortment of supplies from Maker's Movement® to create with: Happy Day Stamp and Die Set; Mixed Drinks Shaker Sprinkles; Clear Acetate Sheets; and Double-sided Adhesive Craft Foam... everything I need to make dimensional Margaritas with shakers!


Check out how CUTE the shaker goodies to accent paper cocktails! My paper scrap stash will be forever transformed!


Before I begin, I need to gently snip the die pieces apart at the tabs with a pair of wire cutters. I also go back and trim away tab edges after separating. Now the fun begins!


Using some washi tape, I secure the citrus wedge shapes to my cardstock and run through the diecutter and voila... a pair of eyes!


I cut out the two citrus wedge shapes out of a scrap of yellow glitter cardstock and place into the voids from the previous cuts. I mount a scrap of matching green cardstock to the backside to secure the eyes with glue.


With a few hand-drawn marker outlines, and the addition of pupils and some lashes... it's starting to feel a little Grinchy here!


Now I need a cocktail glass to create a Margarita for my Ms. Grinch. I cut five glass shapes out of lime green cardstock and one for the top layer out of lime green glitter cardstock. 

I also cut out the solid "drink" portion out of yellow glitter cardstock and a piece of acetate. I also cut out a few of the citrus wedges in the yellow and green glitter cardstock for accents.


If you are unable to cut dimensional foam tape sheets to fit a thin, delicate shape diecut - -- no worries. Building a shaker with only flat cardstock is really easy. I take the 5 solid cardstock cut glasses and added a line of glue all around and layered the next die cut on top. Gently press to secure, then repeat with each shape which builds up the thickness. 

Create a void for shaker sprinkles by glueing yellow glitter "drink" shape to back of layered stack. If using a wet glue, make sure glue has dried completely before adding shaker goodies so they don't get glued to the edges.


I mount the glass onto my card before closing up shaker and adhering acetate layer, followed by the finishing touch -- the lime green glitter cardstock die cut. I accented the glass with a glittery citrus wedge!


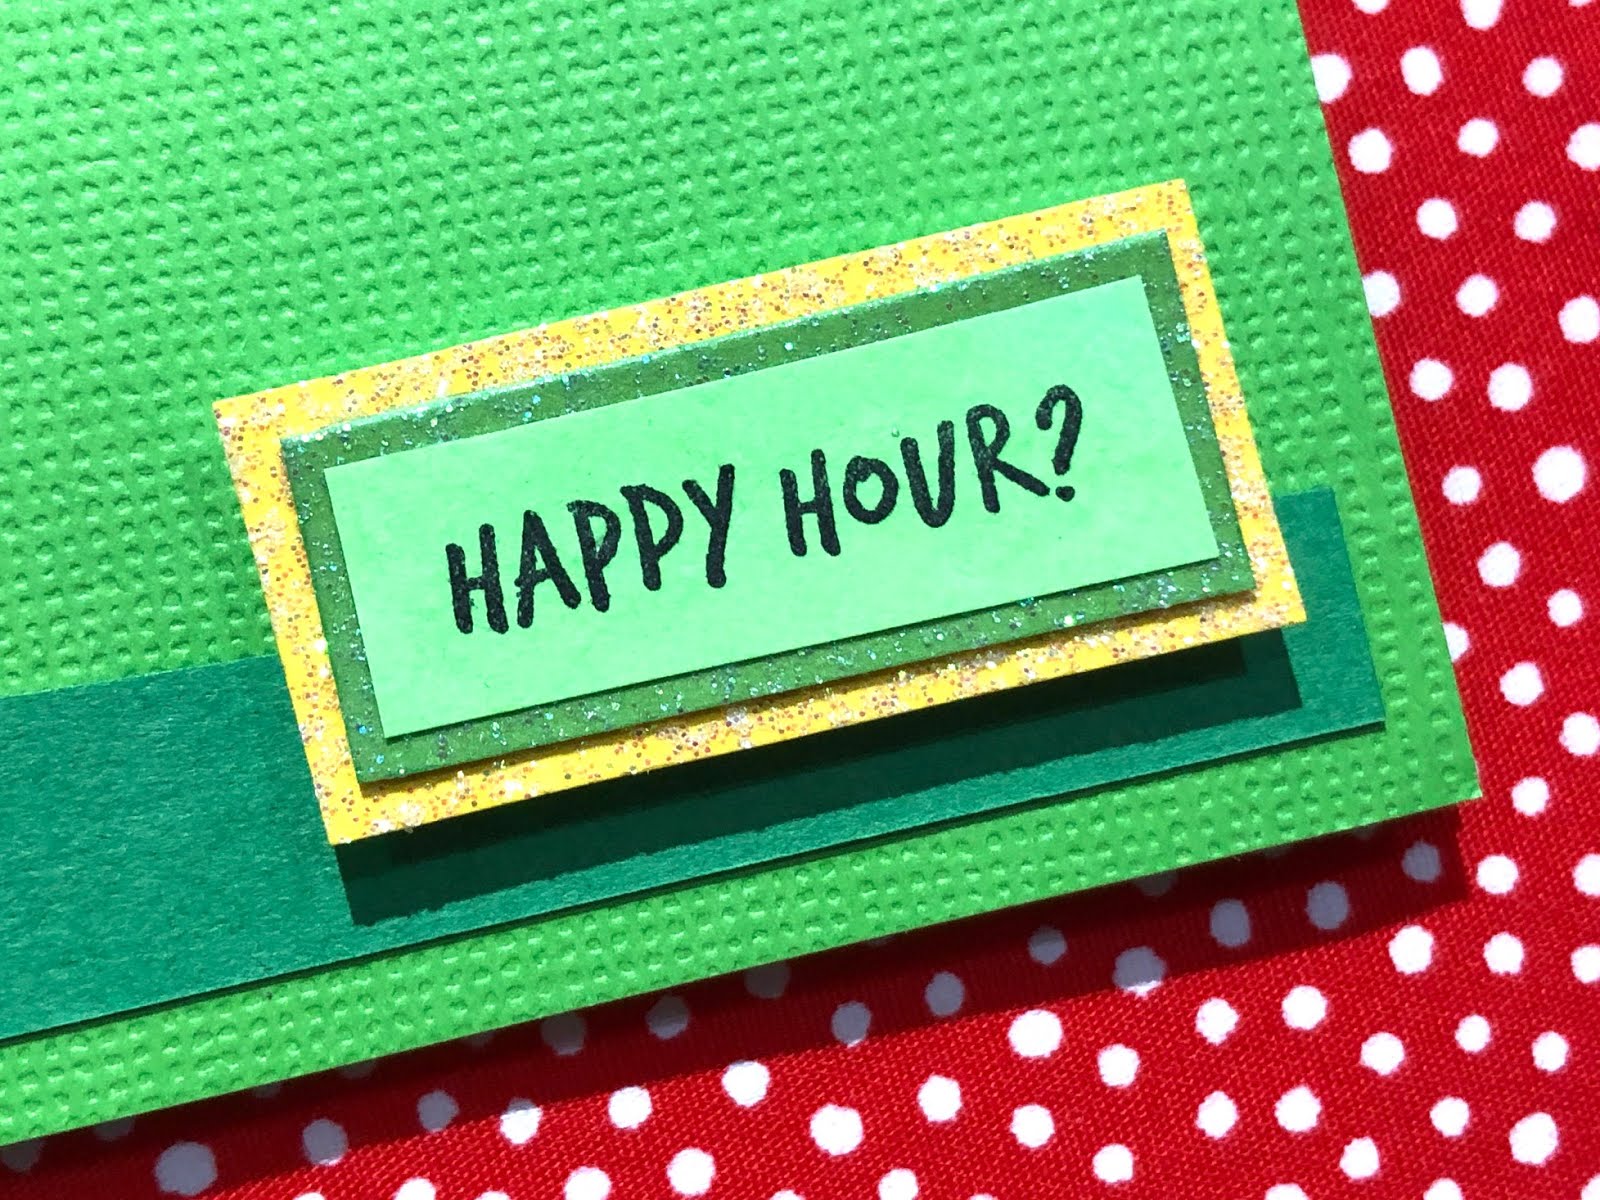
This "Happy Day" set is so fun and versatile as it has a coordinating stamp set with sentiments for any occasion. Ms. Grinchmas plans to invite Cindy Lou Who to "Happy Hour" because there is much to celebrate. Sentiments stamped using Jet Black Ranger Dye Ink.


After trimming out the stamped sentiments, I double matte them with the same glittered cardstock used for the diecut shapes. 


I mount the sentiment to the front of the card using the double-sided adhesive craft foam and my card is complete!


Margarita's Salt-rimmed or Sugared?!


What summer fun will you create
with Makers Movement®?

CLICK HERE to jump over to the beginning of the Makers Movement® Bloghop at the Designer Crafts Connection blog to view more Summer inspiration and projects using Maker Movement® products. If you see something you like... don't have FOMO... enjoy a Buy 2 Get One Free sale on entire website through end of July!

You can find more info on
Maker's Movement® Website HERE

Find lots of creative Maker's Movement® inspiration HERE.


Merry Grinchmas!! Thanks so much for visiting!  Sb :)

** This is a sponsored post. Makers Movement® has provided products for use in this project in exchange for my creative ideas, views and opinions. My ideas and opinions are my own.

Wednesday, April 15, 2020

Tea for Two... Designer Crafts Connection Little Birdie Bloghop


Greetings everyone! Today the Designer Crafts Connection is creating using Little Birdie Crafts sharing a variety of projects including scrapbooking, mixed-media and découpage. CLICK HERE to hop on over to learn more about Little Birdie and see all the wonderful creations.


Little Birdie Crafts manufactures Hobby and Craft products for craft enthusiasts from around the world with a mission to spread the joys of crafting. I received this beautifully packaged assortment of Little Birdie Crafts découpage supplies to create with.


To create with are two beautiful designs of Decopage Papers, Deco Magic Decoupage Glues in matte and glossy finish, two MDF 4" Coasters, and Decor Gloss Varnish. Since coaster blanks are included, I will art those up. The designs are colorful and just happen to include imagery that I can make a coaster for in memory of my grandmother and my uncle.


My family being from Chicago... this project would not be complete with a mini découpaged Chicago Cow. On one of my recent trips home I found this plaster cow at the craft store in a clearance bin for 75 cents (it has a horn and part of a hoof broken off). This project will give her a proper artsy makeover! 


One of the decoupage paper packs is  "Post Perfect" which contains two sheets each of two designs. My Grandmother loved to paint flowers so I will découpage one coaster with these beautiful hydrangeas.


The other decoupage paper pack is "Antique Essence" which contains a collage mix of words, florals, butterflies, travel and vintage vehicles. I cut out the VW beetle with scissors and layered to be the focal image on the coaster for my Uncle. He loved his cars and one of his car restoration projects was a VW Beetle. I loved it and when I was young I dreamed it would be mine one day.


Découpage with paper is a simple process, but takes a bit of time and patience. To apply paper to item, you cut or tear papers depending on design, then paint thin, even coats of Decopage Glue to the item and also the back of the paper. Then place glued paper to glued item and use brush to smooth out air bubbles and seal with a layer of more decoupage glue. It's messy fun. For the round coaster, I used scissors to cut segments all the way around so I could fold over and adhere paper to backside making a nice smooth edge. 


I repeated process for the square coaster, but I trimmed the corners away at a 45º angle so the flaps foldover with make a nice finished edge and corners.


I finished folding over the other two edges, added more Deco Magic Decoupage Glue and pressed the backside of the coaster onto a piece of grey felt. I set a bottle of water on top to weigh it down while the decoupage glue dries, then back trim to the edges with scissors. 


For the circle coaster, I found a lid to something in the kitchen that was slightly smaller to cut felt shape and glued on. This finishes off the back nicely!


I tore up pieces of the papers into smaller bits and began décopaging the plaster cow. I selected some florals and images to use on the outer layers and I need to tear these out with precision. I dip a fine tip paintbrush in water and paint close to the edge of desired image, let water set for a few seconds, then press gently to tear where desired. I then adhere these selected images to complete the outer layer of this artsy cow. 


I also used this butterfly that I tore out
using same painted water line technique.


I used some Caran D'Ache pastels to add spots of color to unite the collaged pieces and give an impressionist painterly feel to this colorful cow. Now it is truly a work of ART and will be the perfect companion to my Grandmother's coaster and her blue mug.


I seal both coasters with three thin layers of Decor Gloss Varnish, letting each coat fully dry between application. The varnish may look a little cloudy when applied, but it dries completely clear. I set aside for a day or two to let everything cure completely and my new coasters are ready to use!


Découpage is a wonderful way to transform and personalize pretty much anything -- trays, vases, frames, coasters, furniture... you name it! With these DIY coasters, I also have preserved some special family memories.


Tea for Two!


What would you create
with Little Birdie Crafts?

CLICK HERE to jump over to the beginning of the Little Birdie Crafts Bloghop at the Designer Crafts Connection blog to view more inspiration and projects using products and kits from Little Birdie Crafts.

You can find more info on
at their website HERE

Find lots of creative inspiration on the Little Birdie Crafts BLOG.


Thanks so much for visiting!  Sb :)

** This is a sponsored post. Little Birdie Crafts has provided products for use in this project in exchange for my creative ideas, views and opinions. My ideas and opinions are my own.