Translate

**If you have previously subscribed to received my posts via feedburner or Bloglovin, those are inactive now. To receive my creative updates, please subscribe in the right sidebar.**
Showing posts with label die cut. Show all posts

Monday, November 10, 2025

All that Glitters in Gingerbread Land... Day one of Gingerbread Crafts Hop


Welcome to DAY ONE of the Gingerbread Crafts Hop! Today, Jane at @juanitascasita kicks it off the event… be sure to visit her INSTAGRAM acct to see what she's baking up in Gingerbread Land. 

Glittering Gingerbread Sneak Peek!


The Gingerbread Crafts Hop is SIX days of crafty Christmas fun for everyone! November 10th through Saturday, November 15th myself along with my Creative Friends will share a gingerbread themed creation – every day filled with sugar, spice and EVERYthing NICE! 

Follow along with us on INSTA to see some crafty inspiration! Please be sure to Like, Comment, Follow and Share the creative spirit!

Monday, November 10th – @juanitascasita Jane Rudolfo Shouse
Tuesday, November 11th – @sassyeyedsusan Susan M. Brown {sbartist} **THAT'S ME**
Wednesday, November 12th – @tryit2likeit Janet VanLone Trieschman
Thursday, November 13th – @ritzy_parties Christie Troxell
Friday, November 14th – @makeablecrafts Meg Daves
Saturday, November 15th — @ernavandyk Erna van Dyk 

See you tomorrow for DAY TWO... I look forward to sharing a Sweet Make with you Tomorrow!!

;) Sb

Thursday, August 21, 2025

Halloween TREATS for ALL... Day 4 of the Fall-o'Ween Crafty Crawl!


Welcome to the day Four of the Fall-o'Ween Crafty Crawl!! Did you enjoy relaxing mixing watercolors painting a harvest moon scene with Erna yesterday? If you just arrived today, be sure to go back and see all the fun! On Tuesday Jane shared Glittery Glam Haunted House Cards, and Christie Smashed Halloween on Monday

Today Janet with Try It - Like It - Create It 
brings the Halloween TREATS for everyone!  Enjoy some spooky papercrafting fun with a FREEBIE to create with... an awesome layered Haunted House Diorama SVG file, just in time for Halloween paper crafting! 

Download your FREE SVG right here: 
and let the crafting begin!

No tricks... pop on over to Janet's INSTAGRAM acct to see how quick and easy this lovely layered haunted house comes together! 

Enjoy a Spooktacular Sneak PEEK!


Below is a list of the creatives that are joining me for this fabulous INSTAGRAM Fall-o'Ween Crafty Crawl – be sure to visit each day, enjoy the fun and leave a comment that I sent you! 
 
Monday, 8/18 — @ritzy_parties Christie Troxell  
Tuesday, 8/19 — @juanitascasita Jane Rudolfo Shouse 
Wednesday, 8/20 — @ernavandyk Erna van Dyk 
Thursday, 8/21 — @tryit2likeit Janet VanLone Trieschman 
* Friday, 8/22 — @sassyeyedsusan (ME) Susan M. Brown {sbartist} 
Saturday, 8/23 @makeablecrafts Meg Daves
 

See you tomorrow for day FIVE of the Fall-o'Ween Crafty Crawl with yours truly!

;)Sb


Tuesday, August 19, 2025

Houses of Haunted Delight... Day 2 of the Fall-o'Ween Crafty Crawl!


Welcome to the day TWO of the Fall-o'Ween Crafty Crawl!! How did you like Christie's Smashing Halloween Treats?! Ready for more... 
 
Today Jane at @JuanitasCasita shares a trio of Glittery Glam Haunted House Cards... pop over and visit  INSTAGRAM acct to see what mysterious make she has in store for you! 

Here's a Glam Sneak PEEK!
 

Houses of Haunted Delight! CLICK TO SEE MORE!

Below is a list of the creatives that are joining me for this fabulous INSTAGRAM Fall-o'Ween Crafty Crawl – be sure to visit each day, enjoy the fun and leave a comment that I sent you! 
 
Monday, 8/18 — @ritzy_parties Christie Troxell  
Tuesday, 8/19 — @juanitascasita Jane Rudolfo Shouse 
Wednesday, 8/20 — @ernavandyk Erna van Dyk 
Thursday, 8/21 — @tryit2likeit Janet VanLone Trieschman 
Friday, 8/22 — @sassyeyedsusan (ME) Susan M. Brown {sbartist} 
Saturday, 8/23 @makeablecrafts Meg Daves


See you tomorrow for day three of the Fall-o'Ween Crafty Crawl!

;)Sb

Thursday, September 16, 2021

Create Mini Albums that Grow... with i-crafter + Designer Crafts Connection


Greetings everyone! Today I am joining the Designer Crafts Connection for another fun bloghop... making mini albums with die cuts from i-crafter -- products inspired by crafters, for crafters. If you have been following me for a while you know that I love making mini books in all shapes and sizes.


If you love papercrafting and making MINI projects... i-crafter.com is a crafters candy-land! CLICK HERE to hop on over to learn more about these fabulous products!


I was provided these i-crafter die-cut items to create with: 222113 Mini Album accordion; 222171 Mini Album Divider #1222712 Mini Album Divider #2, and 222173 Mini Album Divider #3 {each of which come with assortment of die-cut embellishments including florals, leafs and sentiments}; Water Lily, 3D Dimensional Embossing Folder By Lynda Kanase; Tiny Home 3D By Lynda Kanase die{this I will be using in another project}.
 

Included in the package is all pages pre-cut, ready for assembly. 

The i-crafter Mini Album, Accordion die set allows you to create a multi-page, mini album without needing to glue or stitch the binding. HELLO... no glue or stitching! This is a quick and simple way to create a 4” x 5 ¼” mini album using a paper accordion binding system that is expandable depending how many pages you desire.


With everything cut, I select a distress paint to add some shabby chic color to the edges of all the pages. I just rubbed around the edges, front and back of all the pieces, the accordions, and the page interlocking sticks.


Just a small amount of color to compliment the floral embellishments and sentiments. 


Adhere the five sections of die cut accordion using some quick-setting glue {or double-sided adhesive tape}.


Fully assembled accordion ready to add pages.


Slide the slit in the center of large page onto the first full accordion spine.


Make sure spine is fully pulled through page. Ready for some magic?! 


Slide a stick into the accordion spine and push through to opposite end. First page is attached! YES -- it is that easy! No glue needed. Makes life easy if you want to move pages around later on.


I repeat the process alternating 2-page sheets with tab divider pages.


The book grows as you add pages.


There ends up being a couple places where accordion spine meets up with tab from divider pages. 


Add a line of adhesive runner and sandwich edge of acetate page in place. Voila!


The completed book base after inserting pages and locking onto accordion spine. I am new to this type of binding and I love it!


The two remaining accordion flaps are for adhering the cover, or for adding on pages by joining on more accordion sections.


I cut two pieces of creamy white cardstock to size of other pages in preparation for embossing with the Water Lily, 3D Dimensional Embossing Folder. I quickly swiped two colors of distress paint daubers onto the folder surface, misted lightly with water and placed paper into folder.


I send the embossing folder through my Cuttlebug die cutting machine. I repeat this process to create papers for the front and back cover and extras to collage onto a recycled holiday card box.


The result is a subtle, faux watercolor texture. This pairs nicely with the colors of patterned paper accents, including i-crafter die-cut tags, pockets and envelope.


For the front cover, I glue the accordion tab to the cover base.


Glue a ribbon for a book closure that will be sandwiched within cover, then add more glue to adhere embossed painted paper. Repeat on back cover.


I add a few embellishments and its time to move on to the interior pages. I will be gifting this to a co-worker who just had a baby so I am leaving things open for her to fill in.


I am in love with the dimension of the cover and the subtle blue and green color.


The papers provided for the cover I used as lining for the inside front and inside back cover.


More i-crafter die cut accents. Tag with pocket and a paper floral paper clip, with die cut foilage on opposite page.


Close-up of the paper floral paper clip... use of metallic paper add bling while keeping things flat.


I love these monstera leaves!


This mini album has plenty of room and special places to hold things.


I added a layered butterfly as a closure for the envelope.


Shabby Chic Garden Accordion Mini Album

I am quite surprised how quick and easy this book came together. This mini album is perfect for use as a planner on the go or as a pocket brag book... a wonderful gift for a new mom. To complete this gift, I will enclose book in a coordinating upcycled box, paired with an adhesive runner, stickers and some clear photo corners. 

CLICK HERE to jump over to the beginning of the i-crafter Bloghop at the Designer Crafts Connection blog to view more inspiration and projects using heat transfer foils. 

For more i-crafter inspiration visit Blog HERE


Thanks so much for visiting! Sb :)


** This is a sponsored post. I-crafter provided paper products for use in this project in exchange for my creative ideas, views and opinions. My ideas and opinions are my own.

Wednesday, July 22, 2020

It's Five o'Clock Somewhere with Makers Movement® and Designer Crafts Connection!


Greetings everyone! Have you been spending your days binge-watching Christmas movies for Christmas in July?! I have because this summer is hotter than I can remember. Today the Designer Crafts Connection is shaking things up and creating using a variety of products from Makers Movement®CLICK HERE to hop on over to learn more about these fabulous products!


Makers Movement® is an Arts & Crafts store and also manufactures and supplies high quality craft cutting dies, die cutting machines, craft supplies, and more!


I was so excited to receive this assortment of supplies from Maker's Movement® to create with: Happy Day Stamp and Die Set; Mixed Drinks Shaker Sprinkles; Clear Acetate Sheets; and Double-sided Adhesive Craft Foam... everything I need to make dimensional Margaritas with shakers!


Check out how CUTE the shaker goodies to accent paper cocktails! My paper scrap stash will be forever transformed!


Before I begin, I need to gently snip the die pieces apart at the tabs with a pair of wire cutters. I also go back and trim away tab edges after separating. Now the fun begins!


Using some washi tape, I secure the citrus wedge shapes to my cardstock and run through the diecutter and voila... a pair of eyes!


I cut out the two citrus wedge shapes out of a scrap of yellow glitter cardstock and place into the voids from the previous cuts. I mount a scrap of matching green cardstock to the backside to secure the eyes with glue.


With a few hand-drawn marker outlines, and the addition of pupils and some lashes... it's starting to feel a little Grinchy here!


Now I need a cocktail glass to create a Margarita for my Ms. Grinch. I cut five glass shapes out of lime green cardstock and one for the top layer out of lime green glitter cardstock. 

I also cut out the solid "drink" portion out of yellow glitter cardstock and a piece of acetate. I also cut out a few of the citrus wedges in the yellow and green glitter cardstock for accents.


If you are unable to cut dimensional foam tape sheets to fit a thin, delicate shape diecut - -- no worries. Building a shaker with only flat cardstock is really easy. I take the 5 solid cardstock cut glasses and added a line of glue all around and layered the next die cut on top. Gently press to secure, then repeat with each shape which builds up the thickness. 

Create a void for shaker sprinkles by glueing yellow glitter "drink" shape to back of layered stack. If using a wet glue, make sure glue has dried completely before adding shaker goodies so they don't get glued to the edges.


I mount the glass onto my card before closing up shaker and adhering acetate layer, followed by the finishing touch -- the lime green glitter cardstock die cut. I accented the glass with a glittery citrus wedge!


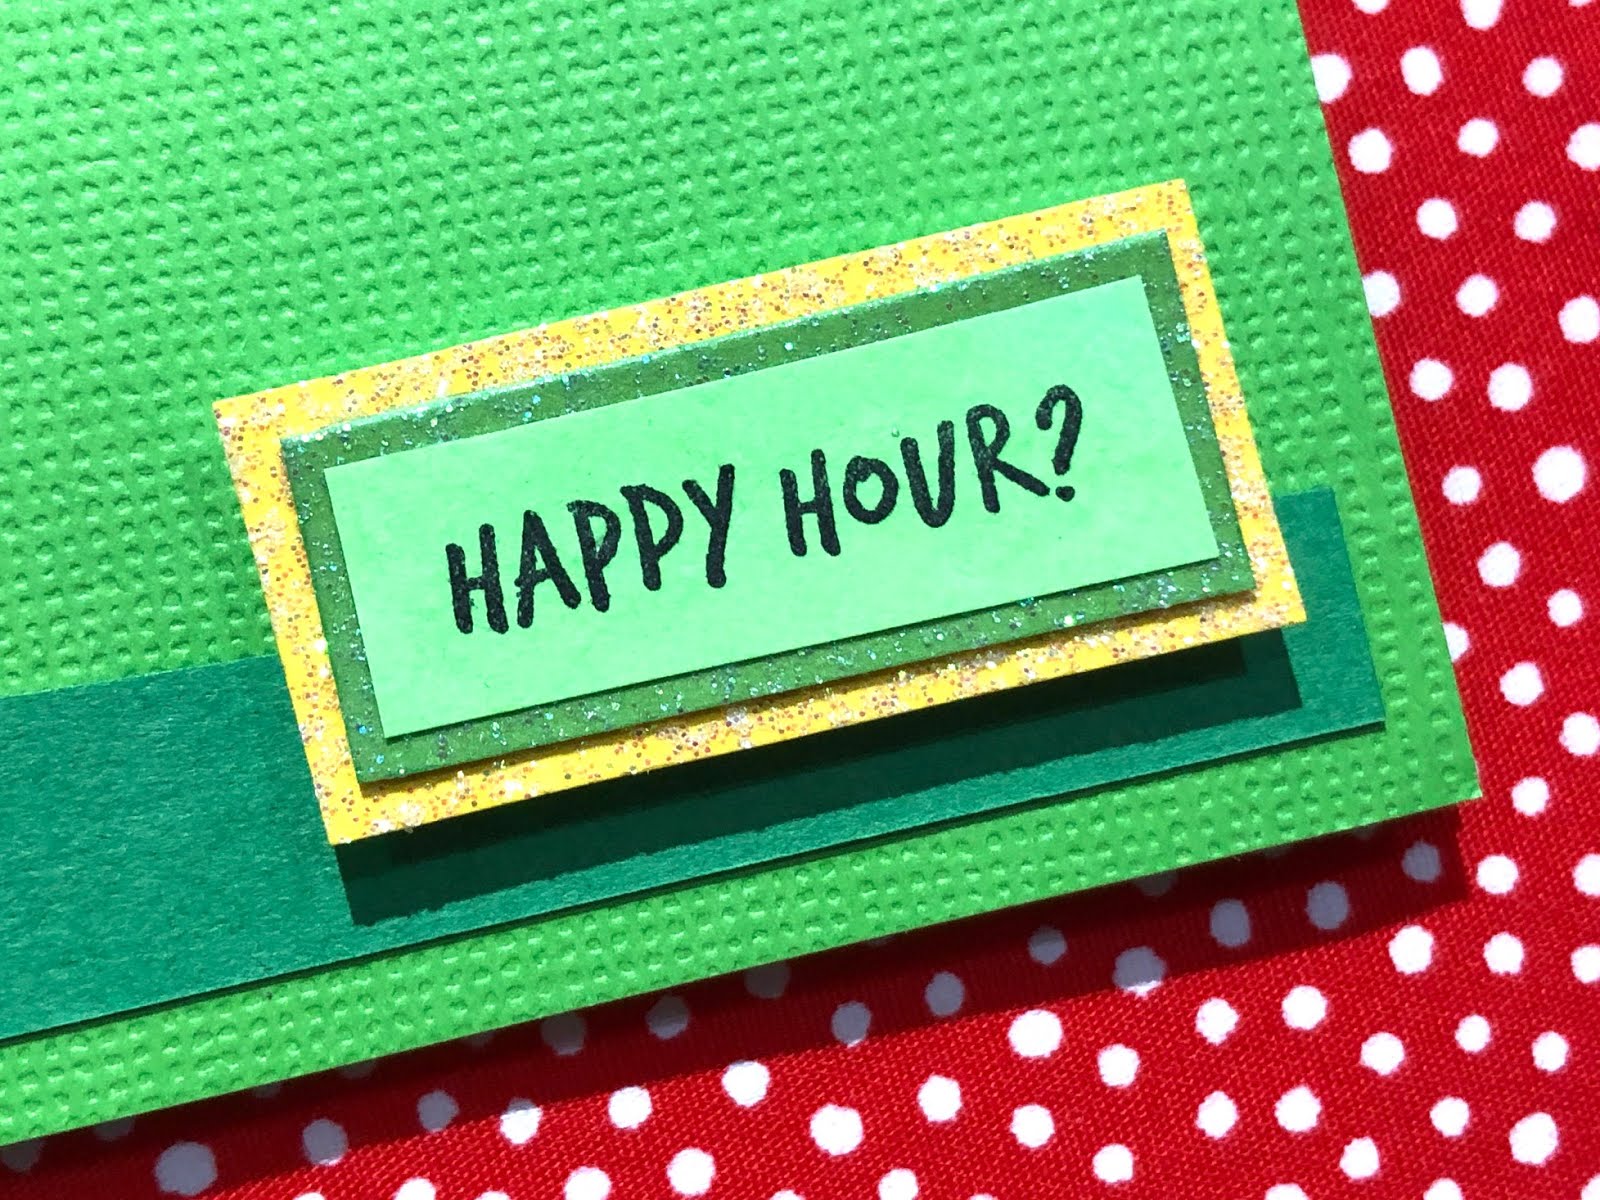
This "Happy Day" set is so fun and versatile as it has a coordinating stamp set with sentiments for any occasion. Ms. Grinchmas plans to invite Cindy Lou Who to "Happy Hour" because there is much to celebrate. Sentiments stamped using Jet Black Ranger Dye Ink.


After trimming out the stamped sentiments, I double matte them with the same glittered cardstock used for the diecut shapes. 


I mount the sentiment to the front of the card using the double-sided adhesive craft foam and my card is complete!


Margarita's Salt-rimmed or Sugared?!


What summer fun will you create
with Makers Movement®?

CLICK HERE to jump over to the beginning of the Makers Movement® Bloghop at the Designer Crafts Connection blog to view more Summer inspiration and projects using Maker Movement® products. If you see something you like... don't have FOMO... enjoy a Buy 2 Get One Free sale on entire website through end of July!

You can find more info on
Maker's Movement® Website HERE

Find lots of creative Maker's Movement® inspiration HERE.


Merry Grinchmas!! Thanks so much for visiting!  Sb :)

** This is a sponsored post. Makers Movement® has provided products for use in this project in exchange for my creative ideas, views and opinions. My ideas and opinions are my own.