Translate

**If you have previously subscribed to received my posts via feedburner or Bloglovin, those are inactive now. To receive my creative updates, please subscribe in the right sidebar.**
Showing posts with label summer. Show all posts

Wednesday, October 7, 2020

SUMMER is still here... Beach Day REDUX for Creative Fall Crafts


Hello creative friends! Here in South Florida SUMMER is pretty much year round but I still like to change things up a bit for the season. Today I am part of a fabulous gathering of Creative Fall Crafts that has new projects and inspiration each day this week! 


I only know when Fall arrives by the change of decor and advertisements in stores because where I live it's still SUMMER. So I have a quick and easy way to jazz up my door by repurposing every girls' summer go to... FLIP FLOPS! We all have 'em in all sorts of designs and colors to coordinate with every outfit... am I right?! Using a few paper-crafting techniques, I'm going to give my shoes a new season in the sun!

Let me gather a few things: 
Something old... something new... 
something borrowed and something BLUE!


This old (pair of flip flops barely if ever used from the closet); a new metal "welcome" word from dollar store; I'm borrowing some sparkly tulle and wreath decor from the Christmas stash; and some fabulous BLUE distressed raffia twine will be the base of my decor.


For this project you need: ribbons/trim/foiliage picks in chosen colors (for me I'm going with a weathered sea-spray feel); a 1" bristle paintbrush; white craft paint: scissors; a glue gun; embossing powder; clear embossing ink; paper plate; sand paper or sanding block; heat gun; scissors; thin floral wire; wire cutters; quilt pins; recycled pop tops; a peg clothespin (or small dowel rod); and some summertime tunes to help bring back those memories of toes in the sand.


The first thing I do is add some hangers to the back of the flip flops by sliding quilt pins into the foamy soles of the shoe.  Be careful not to poke through the front side. 


I use two pins criss-crossed down into sole to securely affix a recycled pop top. Easy Peasy!


Then I add a white wash quickly to age these a bit by dry brushing a small amount of white acrylic paint onto the wicker. No rhyme or reason - just all over. However it turns out is perfect. Just a small amount of paint transforms the look from glam to seaside shabby chic.


Next let's add a beachy, distressed finish to the metal "Welcome". 
This is quick and easy also - but is a bit messy.


First I rough up the surface with a small sanding block so the embossing adhesive will not bead up and will grab powder nicely.


I place word onto a piece of waxed paper to protect my surface then dab embossing adhesive onto all the letters. 


I gently pick up word and place onto a paper plate then sprinkle embossing powder onto the wet adhesive. Tap away excess into the plate and move across to next section until all letters are covered.


Optional: reapply adhesive to any areas that is missing embossing powder. 


Using heat gun, I activate the embossing powder. Please safety first – use heat safe finger cots or tweezers to hold letters while heat embossing. This powder is a weathered beach patina and has a variegated coloring that instantly transforms the metal. There are a few areas missing the powder, but that is OK. In this case I am leaving as is because it adds to the weathered, beachy feel.


One last thing will tie this together with the shoes. 
I quickly dry brush a bit of white overall and this is done!


It's really hard to capture new finish from far away. 
Here's a close-up of the yummy, distressed texture.


I tie some tulle bows on the straps of the shoes and I'm ready for some final assembly. 


I fashion a hanger by layering the two base raffias and 
wrapping some broom grass around a wooden clothespin.


I put up a hook and hung on the door then added the flip flops with a small pieces of wire and a couple supporting mini sticky back hanger hooks. 


This is my assortment of floral sprigs. This cute seasonal grass broom was taken apart to use at the top of my hanger. I'll have to use the scarecrow for something else. 


I continued to nestle the floral sprigs in and around the straps of the shoes. 


I added a fluffy tulle bow to the top to conceal the hanger.


The last thing was to affix the word welcome with a couple of strategically hidden spots of hot glue.


Honestly, I was not sure how this was going to turn out when I started. This is so beautiful I want to put this outside on my door step. The only reason I don't is because I don't have an overhang and we are in the middle of hurricane season – which brings daily severe thunderstorms. I hope you like it as much as I do.


How you are decorating for fall?


For more inspiration and Creative Fall Crafts ideas,
pop over HERE to see what my creative friends are making. 

This fun redux set me off on a fall decorating frenzy and I'll be back to share a few more projects that I have in the works! Thanks for visiting. Sb :)

Wednesday, July 22, 2020

It's Five o'Clock Somewhere with Makers Movement® and Designer Crafts Connection!


Greetings everyone! Have you been spending your days binge-watching Christmas movies for Christmas in July?! I have because this summer is hotter than I can remember. Today the Designer Crafts Connection is shaking things up and creating using a variety of products from Makers Movement®CLICK HERE to hop on over to learn more about these fabulous products!


Makers Movement® is an Arts & Crafts store and also manufactures and supplies high quality craft cutting dies, die cutting machines, craft supplies, and more!


I was so excited to receive this assortment of supplies from Maker's Movement® to create with: Happy Day Stamp and Die Set; Mixed Drinks Shaker Sprinkles; Clear Acetate Sheets; and Double-sided Adhesive Craft Foam... everything I need to make dimensional Margaritas with shakers!


Check out how CUTE the shaker goodies to accent paper cocktails! My paper scrap stash will be forever transformed!


Before I begin, I need to gently snip the die pieces apart at the tabs with a pair of wire cutters. I also go back and trim away tab edges after separating. Now the fun begins!


Using some washi tape, I secure the citrus wedge shapes to my cardstock and run through the diecutter and voila... a pair of eyes!


I cut out the two citrus wedge shapes out of a scrap of yellow glitter cardstock and place into the voids from the previous cuts. I mount a scrap of matching green cardstock to the backside to secure the eyes with glue.


With a few hand-drawn marker outlines, and the addition of pupils and some lashes... it's starting to feel a little Grinchy here!


Now I need a cocktail glass to create a Margarita for my Ms. Grinch. I cut five glass shapes out of lime green cardstock and one for the top layer out of lime green glitter cardstock. 

I also cut out the solid "drink" portion out of yellow glitter cardstock and a piece of acetate. I also cut out a few of the citrus wedges in the yellow and green glitter cardstock for accents.


If you are unable to cut dimensional foam tape sheets to fit a thin, delicate shape diecut - -- no worries. Building a shaker with only flat cardstock is really easy. I take the 5 solid cardstock cut glasses and added a line of glue all around and layered the next die cut on top. Gently press to secure, then repeat with each shape which builds up the thickness. 

Create a void for shaker sprinkles by glueing yellow glitter "drink" shape to back of layered stack. If using a wet glue, make sure glue has dried completely before adding shaker goodies so they don't get glued to the edges.


I mount the glass onto my card before closing up shaker and adhering acetate layer, followed by the finishing touch -- the lime green glitter cardstock die cut. I accented the glass with a glittery citrus wedge!


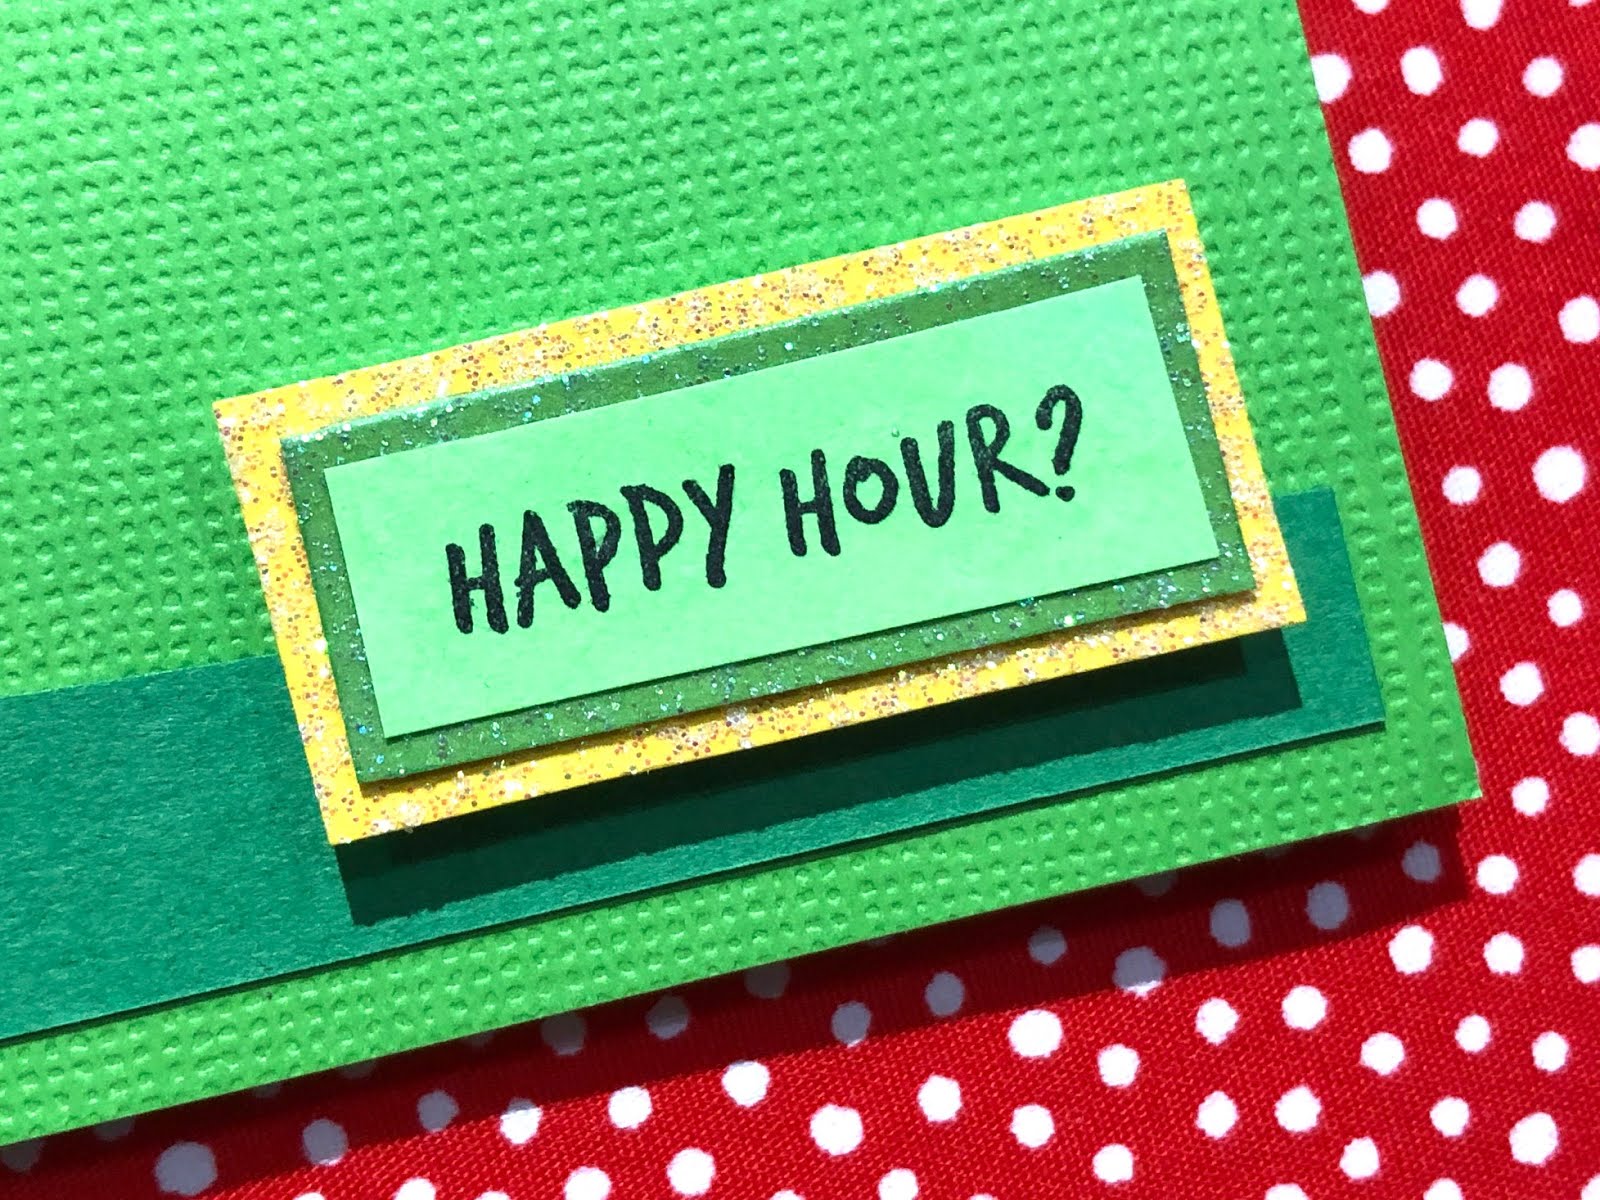
This "Happy Day" set is so fun and versatile as it has a coordinating stamp set with sentiments for any occasion. Ms. Grinchmas plans to invite Cindy Lou Who to "Happy Hour" because there is much to celebrate. Sentiments stamped using Jet Black Ranger Dye Ink.


After trimming out the stamped sentiments, I double matte them with the same glittered cardstock used for the diecut shapes. 


I mount the sentiment to the front of the card using the double-sided adhesive craft foam and my card is complete!


Margarita's Salt-rimmed or Sugared?!


What summer fun will you create
with Makers Movement®?

CLICK HERE to jump over to the beginning of the Makers Movement® Bloghop at the Designer Crafts Connection blog to view more Summer inspiration and projects using Maker Movement® products. If you see something you like... don't have FOMO... enjoy a Buy 2 Get One Free sale on entire website through end of July!

You can find more info on
Maker's Movement® Website HERE

Find lots of creative Maker's Movement® inspiration HERE.


Merry Grinchmas!! Thanks so much for visiting!  Sb :)

** This is a sponsored post. Makers Movement® has provided products for use in this project in exchange for my creative ideas, views and opinions. My ideas and opinions are my own.

Tuesday, April 16, 2019

Ready for a Weekend Getaway... DIY Bloghop with Expo International Trims


Hello Friends! Are you ready for a weekend getaway?! I know I am! Today I am proud and grateful to be participating in a special DIY Spring Bloghop with Expo International Trims. I have a couple makes using Expo International trims: a pencil case turned Chic clutch and a wintery felt phone holder.


With some scissors, double-sided adhesive and Fabri-Tac ~
making a seasonal quick change is quick and EASY.


Expo International sent me this selection of items to create with. Keep an eye out here on Cinco de Mayo as to what becomes of the festive fringe and red trims. TRIMS USED in this project: Shell Beaded Denim Trim - Black Multi; AnnaLie Jute Trim {natural burlap background with cotton lace overlay}; Evelyn Black Lace; and striking Flower Brooch.


I shopped my closet and gathered some canvas, white, black and khaki - my travel go-tos and grabbed some items that need some travel ready flair.


First up - my not so girly yet functional fishing hat. I removed the leather straps and measured a section of the lacy jute trim and lined with double-sided adhesive. Remove the backing, wrap around and VOILA ~ instant transformation!


My canvas tote has a stain that won't wash out. What's a girl to do?! Camouflage it by adding some Expo International Trims of course!


Adding lace trim is quick and easy with Fabric-Tac.


I love to double layer contrasting trims... 
and it makes the trim look like it's all-in-one.

How did I get these great boho roses?!


I made them out of Expo International Trims!


I had a small section leftover of the lacey jute trim. It's not going to waste. I gently peeled back the lace to expose the threads and gently cut apart.


Now I have two separate pieces! I wrapped these wonkily into a rose shape, added a pearl to the center, and secured with Fabri-Tac.


I cut the burlap into strips, added a strip of double-sided adhesive tape, then backed onto this beautiful distressed denim trim with shells and wound it up into another boho rose.


Again - secured with strategically placed dollops of Fabri-Tac.


I added a broken clip-on earring to the center of this one.

A little more Fabri-Tac adheres them to the jute trim band.


An easy-peasy transformation from stuff I had around the house. AND I can easily remove and re-attach my leather strap for the pop-up fishing excursion.

But there's one more....

This natural woven purse is beautiful as it is... but it needs a little something.


After the addition of Expo International Black Lace trim and this gorgeous Adornments Clip-on Brooch!!! 


Instant STYLE!


What would you transform
for your travel getaway with
Expo International Trims?

CLICK HERE to POP over to the Expo International BLOG for other projects in this special Spring Bloghop with Expo InternationalFor more information on Expo International and products to dress up anything please visit website HERE.


Visit Expo International on FB www.facebook.com/expointl to enter for this great giveaway of trims.

For more inspiration on creating with Expo International please visit www.expointl.com/blog/. Share your creations #expotrims #diyhomedecor #embellishwithexpo 

Thanks so much for visiting! Sb :)

** This is a paid sponsored post. Expo International has provided trims for use in this project in exchange for my creative ideas, views and opinions. My ideas and opinions are my own.